How to Create Additional Workspaces
Creating additional workspaces in Shelf is a straightforward process. Follow these steps to set up a new workspace.
Steps to Create a Workspace
- Log in to your Shelf account
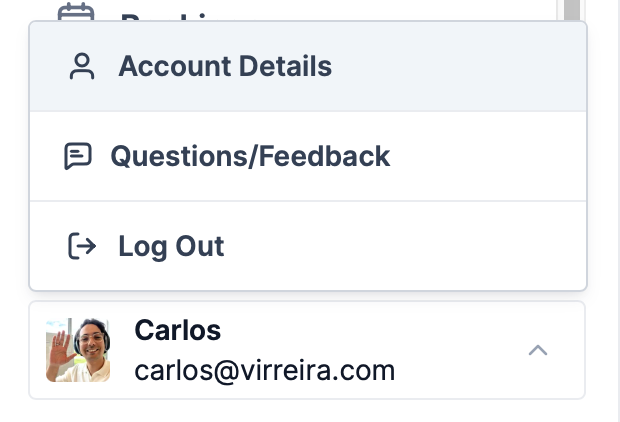
- Click on your user profile in the left corner
- Select Account Details from the menu
- Navigate to the Workspaces tab
- Look for the NEW WORKSPACE button
Important Note
This button will only be enabled if you have the necessary licenses and permissions to add workspaces.
Setup Process
- Click the NEW WORKSPACE button
- Enter a name for your new workspace
- Follow the setup prompts to configure your new workspace
Once completed, you will have a fully functional workspace database ready for collaboration and work.
Support Information
If you encounter any issues during this process or need further assistance, contact the support team.
To add more team license workspaces to your account, reach out to the support team, and they will help you expand your Shelf experience.
Ready to try Shelf?
Put what you're learning into practice. Free plan available — no credit card required.